class="site-logo"
href="/">


Hey! Just bought a beautiful new light fixture and ready to upgrade your space? I get it—there's nothing more satisfying than completing a DIY project . But before we get started, let's make sure everything is done the right way.
In the US, we have specific electrical standards to ensure safety and compliance. Whether you're a seasoned DIY enthusiast or this is your first time dealing with electrical wiring, this guide will walk you through the entire process, from unboxing to the final "lighting up."

Before you grab that ladder, let's talk about safety. In the US, we can't just "flip the switch" and hope for the best.
Locate the circuit breaker: Find your main electrical panel and switch the circuit breaker for the room you're working in to the "off" position.
Test it: Use a non-contact voltage tester. If this little pen-shaped tool doesn't beep or light up when near the wires, then you're good to go.
Check the junction box: Make sure your ceiling junction box is secure and reliable. Most standard junction boxes can support up to 50 pounds.

Open the box like it's Christmas morning, but keep everything neat and organized.
Inventory: Take out the light fixture body, glass shade, mounting bracket, and hardware to ensure everything is there.
Most light fixtures require some "pre-assembly" before being installed on the ceiling.

Wiring: Loosen the screws on the ceiling plate, thread the light fixture wires through the corresponding holes in the ceiling plate, and tighten them.

Connecting the wires: Connect the corresponding wires together. You'll need to twist them tightly, but don't overtighten—you don't want to crimp or damage the insulation of the internal wires.

Finally, install the glass shade: Tighten the shade with a screwdriver and install the light bulb.
This is the moment of truth. Here's the "standard American" way to wire a light fixture:

Step 1: Install the ceiling plate assembly to the ceiling, tightening it with a power screwdriver.

Step 2: Connect the wires, carefully tucking them into the junction box.

Step 3: Tighten the decorative nut until it is flush against the ceiling.
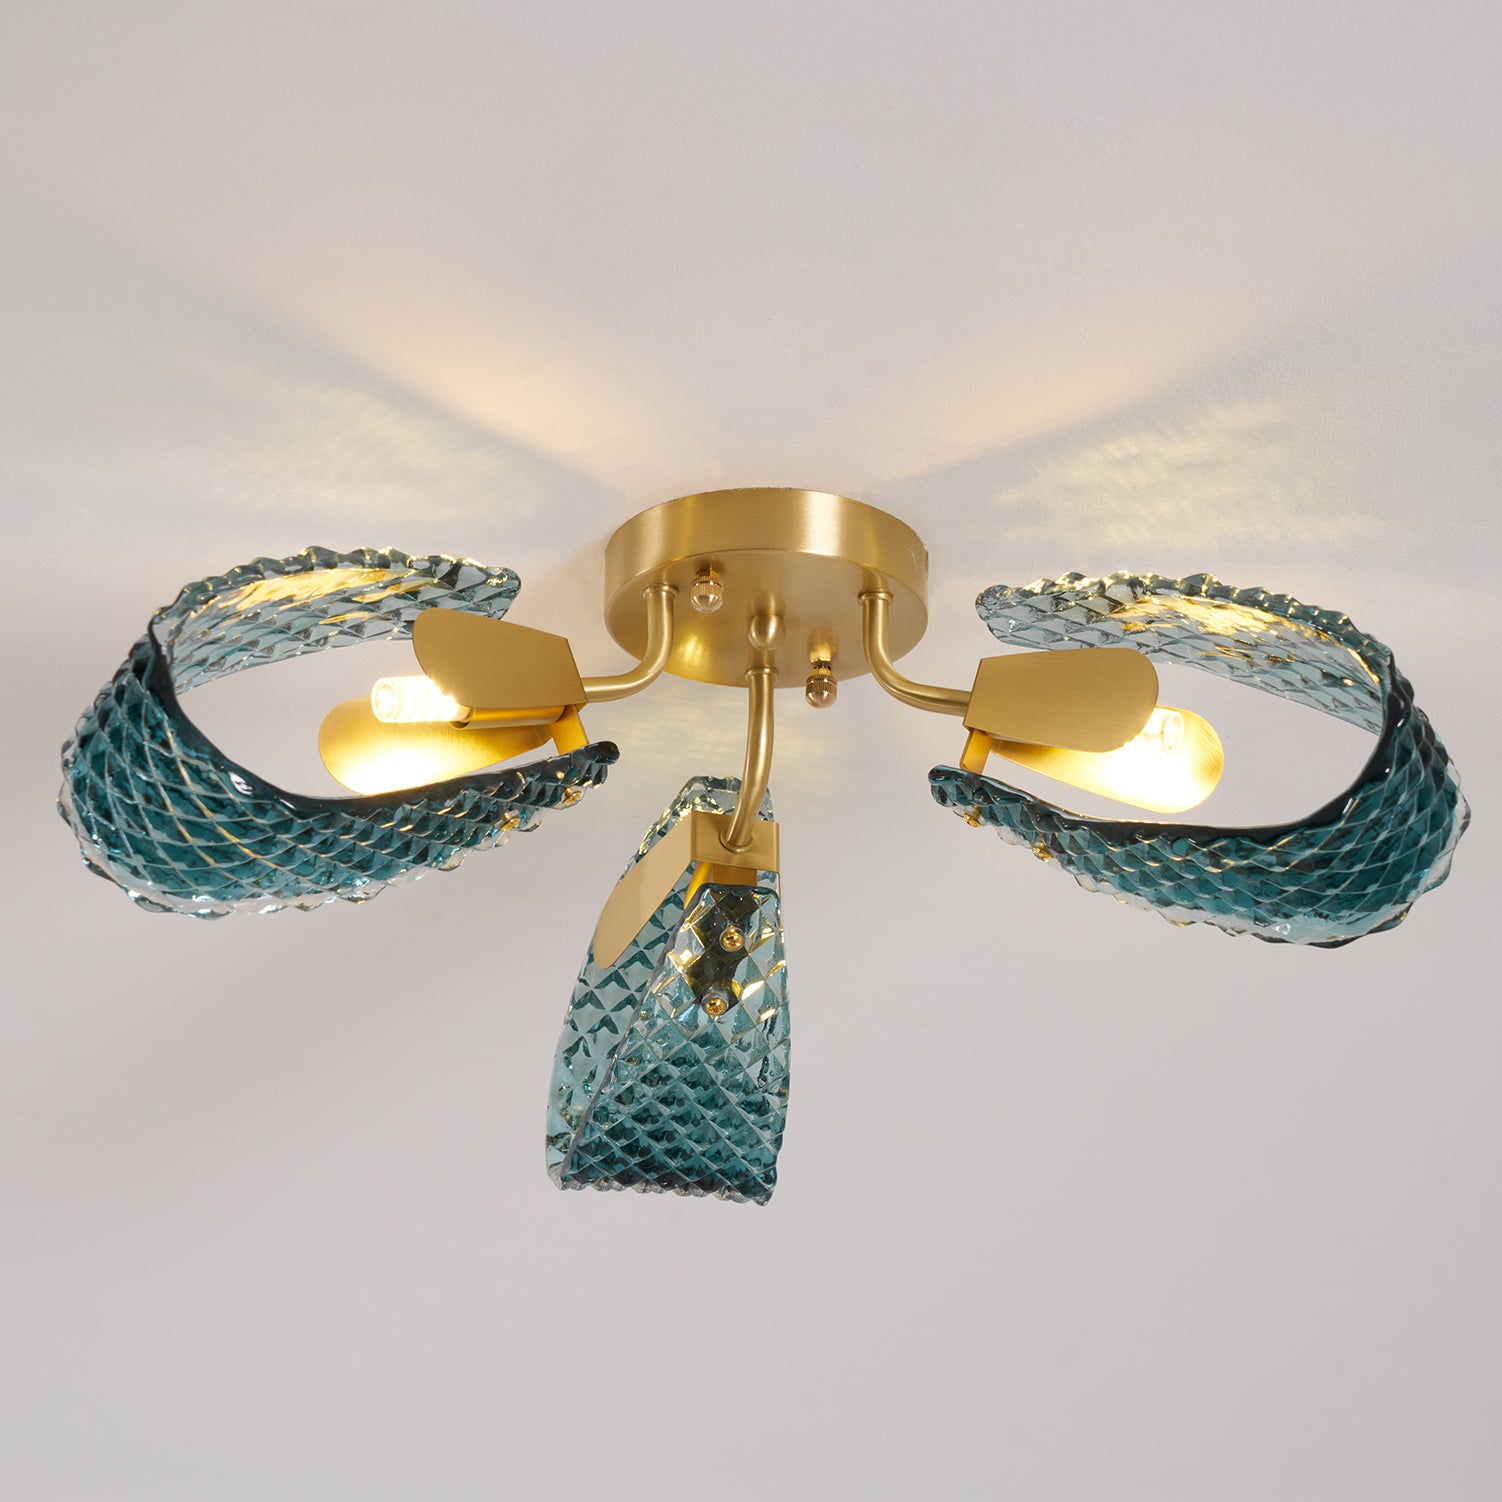
Final Result Display
Powering On: Go back to the circuit breaker, turn on the power, and then return to the room.
Flip the switch! If you followed the steps, you have successfully upgraded your home.
Some tips…
If you open the ceiling junction box and see a mess of old wiring or wires with unusual colors, do not guess. It's wise to have a certified electrician handle these tricky situations.
👉If you prefer video tutorials, you can watch the detailed installation tutorial we've provided below. The video shows each step in real time, allowing you to complete the installation easily and confidently.
✅Tip: Watching the video before you begin will help you understand each step. This is especially helpful if you want to learn about the installation process of the light fixture.

